New Tools
Hello again to all who read my little blog.
The restoration of a 17' plywood powerboat. Visit My Workshop here.
Hello again to all who read my little blog.
The Abbygirle
(Formerly called "The Goofy Mallard") she is a 17' power boat made of plywood. It has a small "Cuddy Cabin" large enough to sleep one person (2 cramped). It was originally built by Kauffman Boatworks of Osprey Florida in 1960. Over the years she has been repainted/restored several times. I don't have any more of her history just yet but, I hope to aquire as much as I can as I go along.Have you heard of Kauffman Boatworks ?
Please see entry on November 18, 2007... the Kauffmans have seen this blog site and contacted me with some info & pic's of Kauffman Boatworks and my boat.
If you have a roller mouse ( with the little roller between the left & right buttons ), you can "Click" this roller on any picture to activate the zoom function. Then you can "roll" the zoom "IN" or "OUT" as you prefer. However, the picture will become more and more distorted as you zoom in deeper and deeper.
I believe that pic's in the post/comments just need to be left clicked on to activate the enlarge / zoom feature.
Don't forget to "unclick" the roller to disable the zoom function.
If you find my boat's pic's interesting you can view more of my pic's @ http://vicslittleworkshop.shutterfly.com/action/
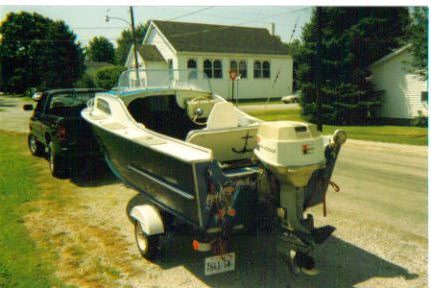
I first bought this boat (formerly named "The Goofy Mallard") in July of 2004. Some friends of mine had taken me boating and I was hooked the first time. I needed my own boat. Several months later the same guy that took me on my first boat adventure, who happened to have several boats, decided that he didn't need them all and so.... I was in. I gotta say, the price was right. $400.00 bucks for the craft without the engine. He wanted to keep the engine for another boat, but a few weeks later he came around and sold me the 115 hp Evinrude for another $400.00.
I had taken the boat for a test ride before agreeing to buy it and noted some damage to the keel, just under the bow. Someone had beached her in the rocks at some point in her past. They evidently tried to repair it too but, the repairs weren't of the quality that I would have prefered. The repair job itself was rotting away and the craft leaked.... a lot !
I originally intended to fix the damaged keel and put a new paint job on her and then just drop her into the water and do some fishing and relaxing. RIGHT.....................
That was in the summer of 2004. The boat still sits in my garage, completely gutted and stripped to bare wood inside and out in the midst of a full restoration. New steering system (no more pulleys & cables), new 25 gallon below deck fuel tank, new seating... the works.
I recently seen a fella's website where he is building homemade wooden boats and uses his website to sorta "Journalize" their construction. So... I thought to myself, why not me !
And this brings us to "MY BLOG".
Hope I don't bore you with my dribble...
Everyones comments are welcome.
Before we start let me say one thing though. I am not a boatbuilder nor did I know anything about boats or even woodworking when I started this project. I have spent the majority of my adult life (20 years) hammering across the U S of A in a tractor trailer delivering goods and commodities to people and business' just as fast as I could. I've never taken the time to slow down let alone learn how to do anything else with my life so, this is a major learning experience and I never move faster than what I am comfortable with.
P.S.
I still drive a truck for a living but, now I am home every night with my wife and I don't even leave the state. So.......... this is a whole new adventure for me.
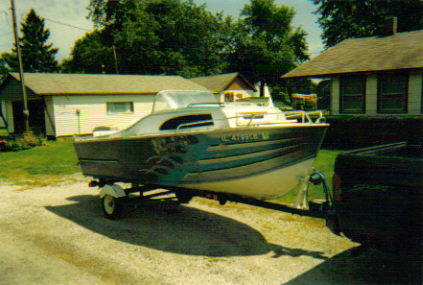
This (above) is what she looked like at purchase. The windscreen is original. I know that the chrome bars extending around the bow were not part of the boat when it was built and neither was the luggage rack on the roof of the cabin.
I have no intention of restoring her to "Original" as when she was built. The craft is getting a complete overhaul though. I am intending to use two of the previous colors (this boat has been painted many times) when I paint her but, what those two colors are is my little secret here.
The first thing to do is inspect that damage (below) to the keel ( is that what it's called ?).
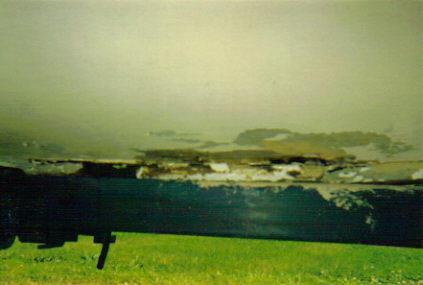
I see some rubbery putty looking stuff thats been "packed into and smeared around" what appears to be rotten wood on both sides of the keel guard (as well as the trailer ???). Someone (and I know who !) tried to make a "cheap fix" just to get her to stop leaking.
After getting her into the garage and off of the trailer I was able to spread some paint stripper on that spot and reveal that not only was there some rotten wood but, a small section of the original wooden keel guard (about 12" or so) had been cut out and a new piece of wood of inproper dimensions (not thick enough or wide enough) had been installed. I would soon find out that this new piece of wood was not only the wrong kind of wood but, was attached with lots (too many) of the wrong kind of screws and nails .
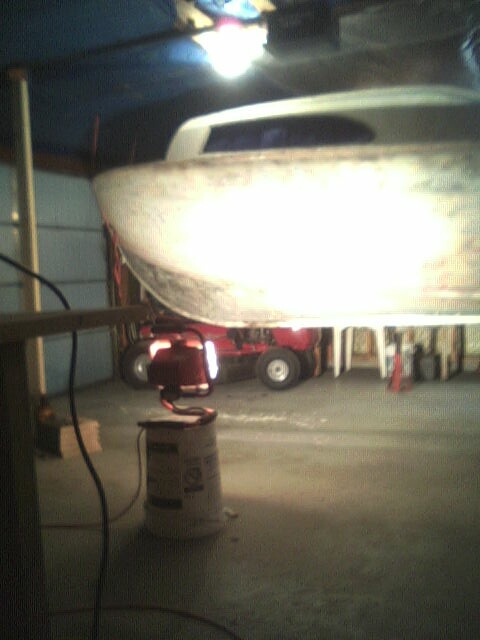
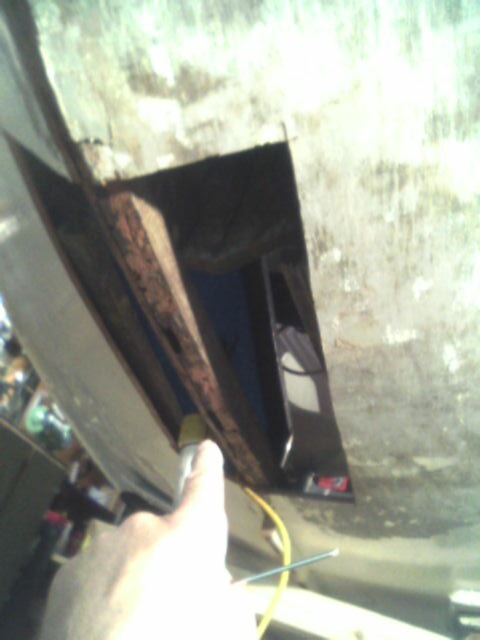
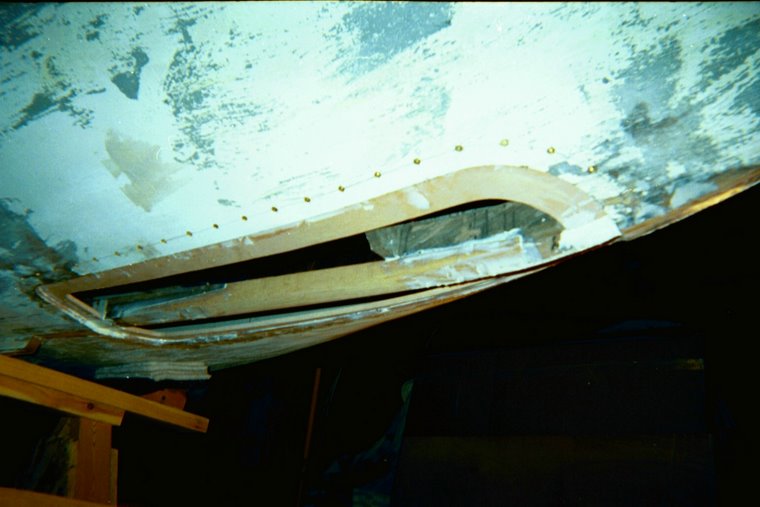
There was enough rotten wood to convince me that I needed to cut a hole in the hull and inspect the keel itself. You can see the two slots that are completely rotted out. This is where too many nails and screws (of the kind that rust) were used. These slots were about 3/8" wide, 1 and 5/8" deep and 3" long each. The keel is only 1 7/8" thick (all sides) to begin with. A couple of friends tried to tell me that it wasn't enough to worry about but, I'm pretty stubborn about some things. I want it fixed and fixed right.
NOW THERE IS A LONG WAITING PERIOD... MONTHS !
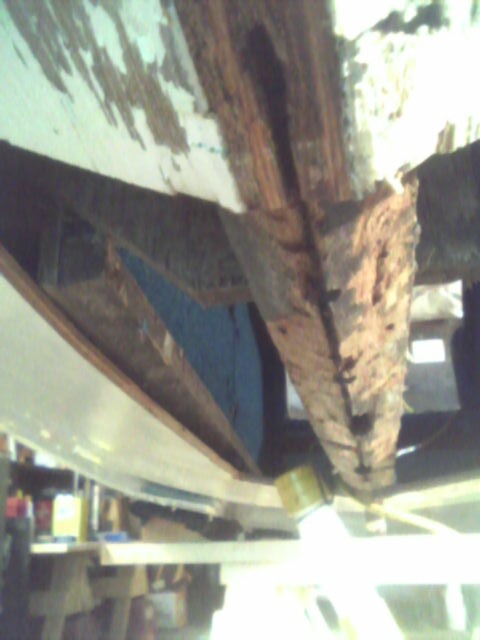
A trip to my favorite bookstore is in order here. I ordered two books;
Frame, Stem and Keel Repair by: The Wooden Boat Series and;
Wooden Boat Renovation by: Jim Trefethen.
A couple of weeks for delivery of the books, and a few MONTHS of getting up the courage to cut that section of the keel out.
My biggest concern here is that any and all repairs that I make to this craft are done RIGHT. I don't want anyone getting hurt trying to enjoy themselves on this boat.
!!!! ESPECIALLY ME !!!!
One obstical I encountered was how to find a piece of wood that would be suitable for the replacement section once I did get my courage up... you can't just walk into Lowe's and buy some things. That took a long time but, I finally ran into an old timer (thru my work) that takes down old barns and salvages the wood. He was able to get me a piece of 4" x 4" x 4' whiteoak timber that was no doubt twice as old as my boat was. And it was straight too !
While I was waiting, I went ahead and did other things like stripping as much of the paint as I could, removing the engine, seats and pedistals, carpeting, flooring and hardware.
??? Does anybody actually like stripping paint ???
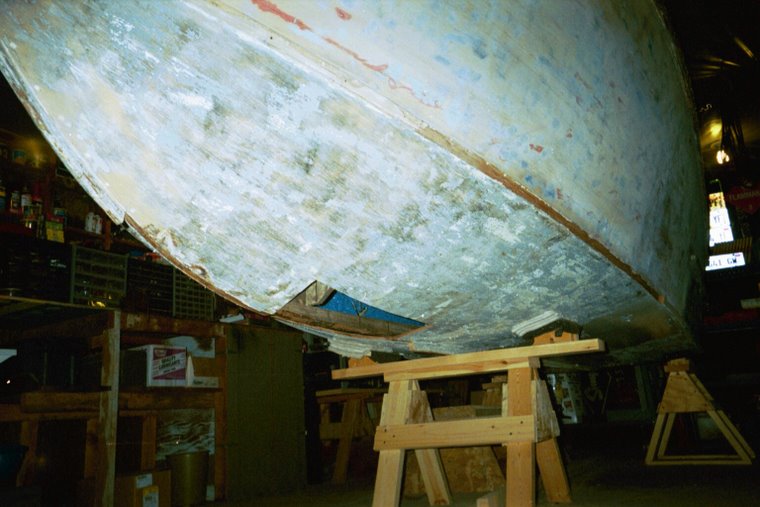
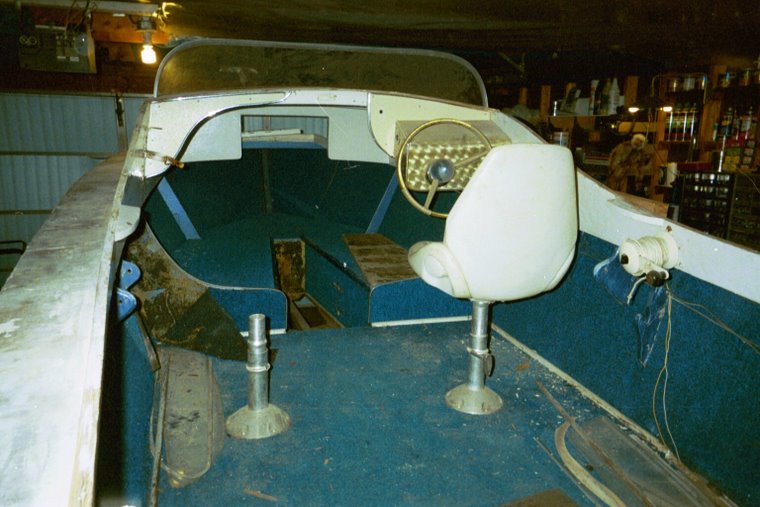
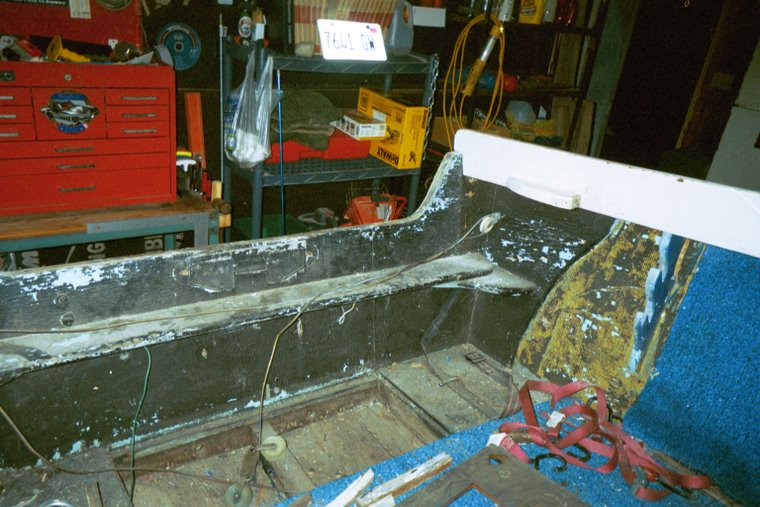
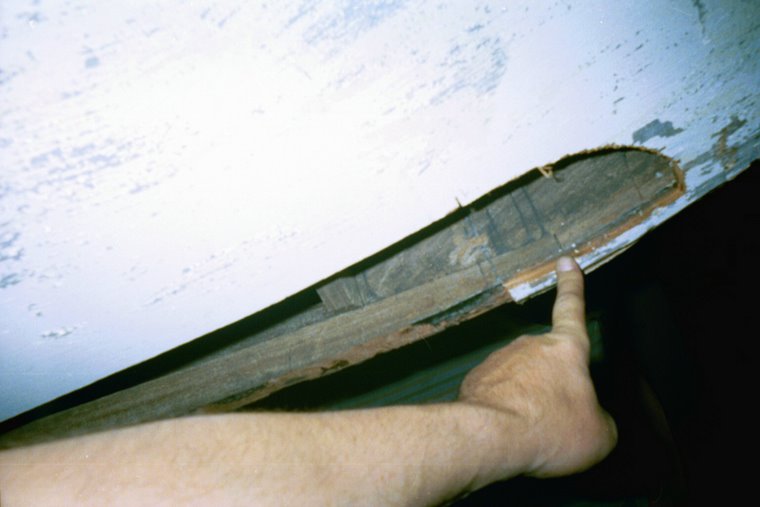
I needed to see more of the keel itself so, this meant that I had to cut a bigger hole. I didn't want to remove any more hull matter than necessary and the hole had to be identical on both sides of the hull so, I used some posterboard (very thin cardboard) to make a pattern of the precise size and shape needed. I then carefully positioned that pattern on one side of the hull, lining it up with the keel on the inside edge and secured it to the hull with small tacks. After tracing out the hole on one side I flipped the pattern over and traced out the other side the same. Then I cut...very carefully, with a little help from a chisel.
After enlarging the hole in the hull I was able to see that the first section of the keel actually ends where my finger is pointing to. It is attached to the "Gripe or Knee" using two long silicone bronze screws and resorcinol. Removing the bad section of wood now only needs 1 cut as opposed to 2 cuts in the keel.
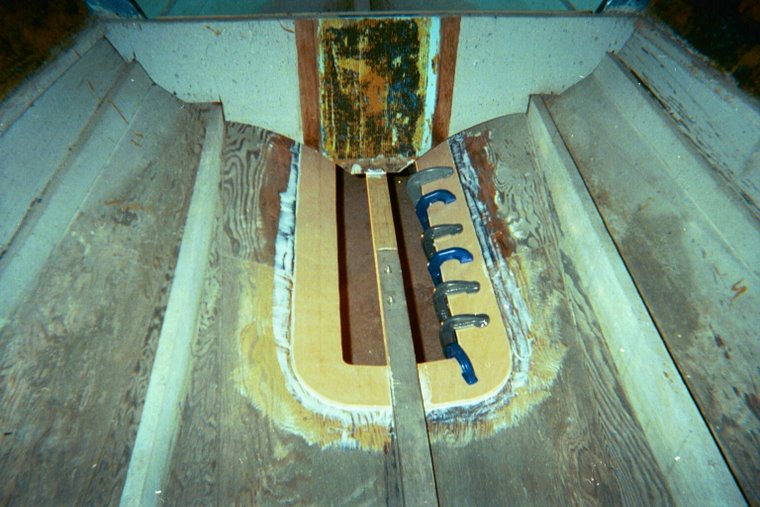
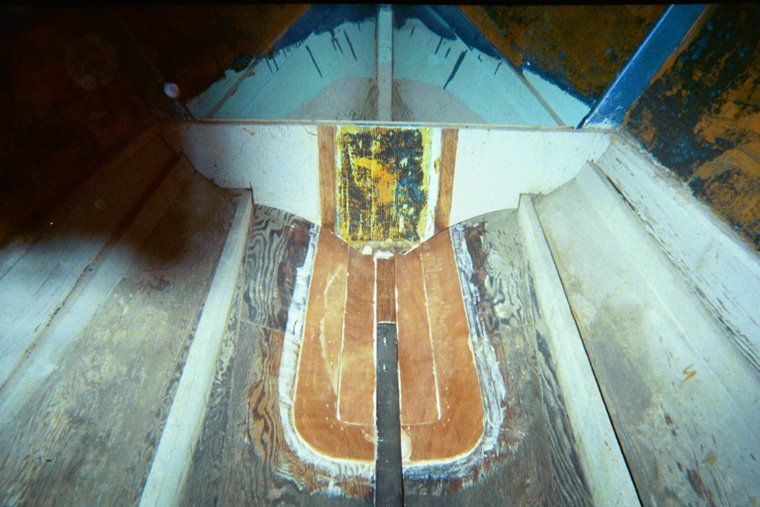
Here (above) you can see the keel has been installed using both epoxy and Stainless Steel bolts (I've since learned that SS should not be used below the waterline). The bolts are used aft and the original silicone bronze screws (Removing them was a breeze) up front attaching to the knee.
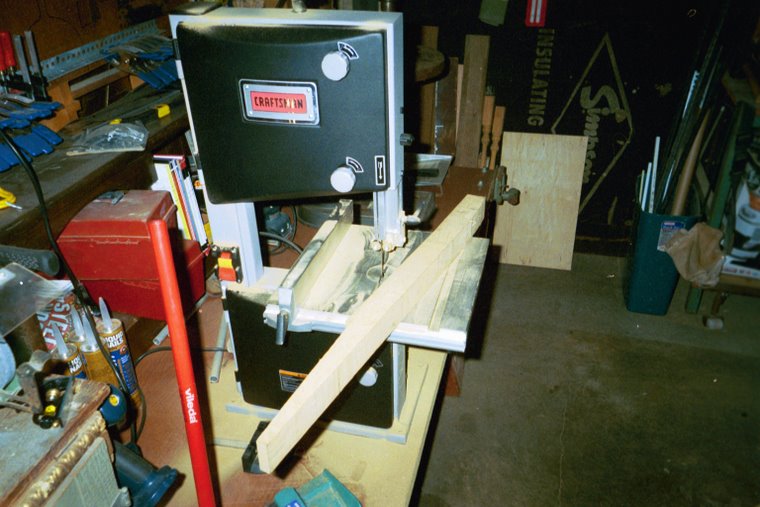
Along with the ordering of the books, I also had to buy the bandsaw, a couple other saws, a whole bunch of clamps and who knows what else I've been collecting out in my little workshop.
Tools are always considered to be an "Investment".
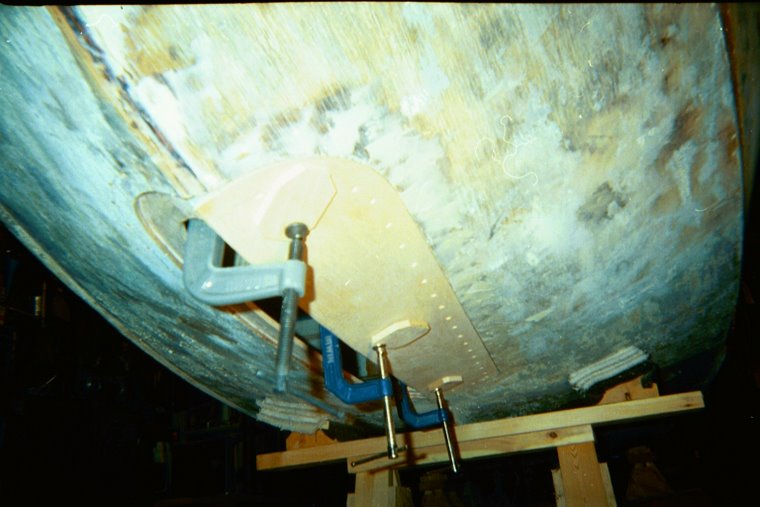
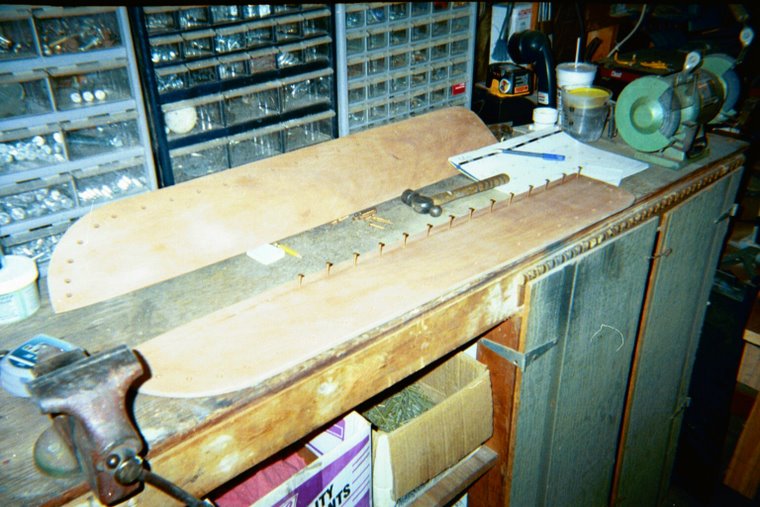
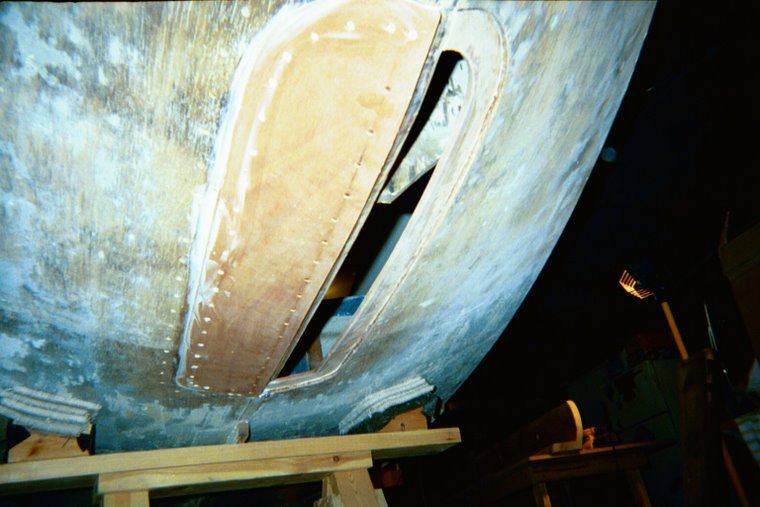
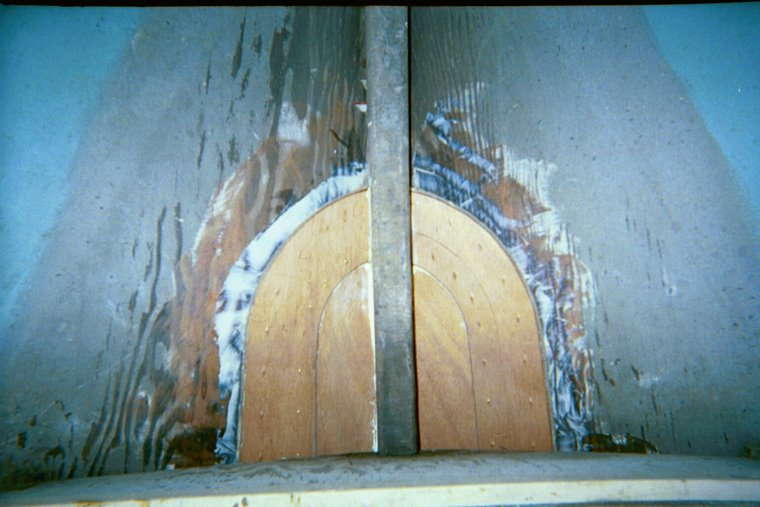
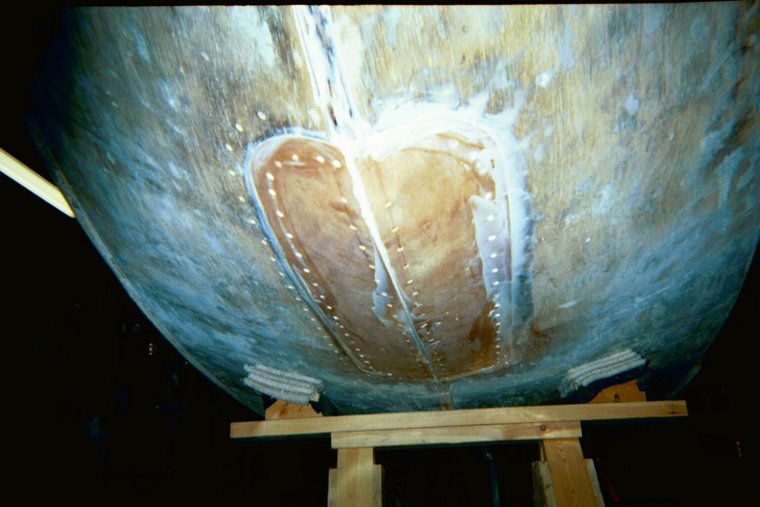
Here you see the hull patches. They are made of 3/8" okume plywood with 7 plies. I had purchased the wood thru Boulter Plywood
http://www.boulterplywood.com .
The wood was shipped directly to my house here in central Illinois.
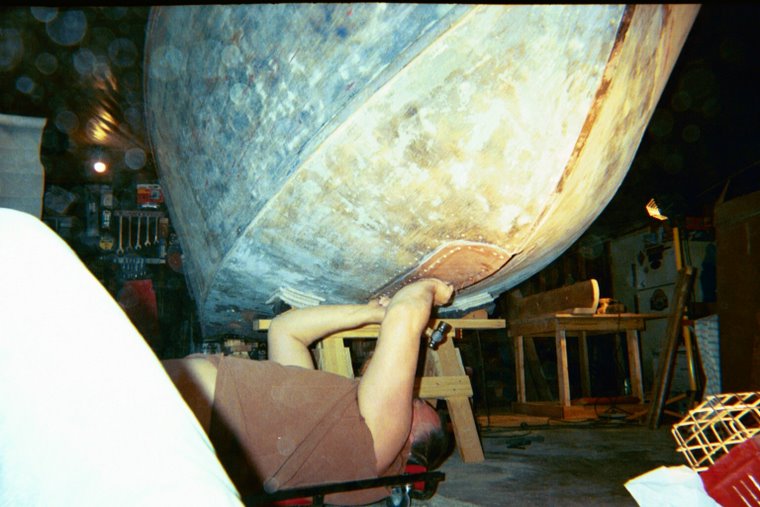
Each patch board was carefully shaped, dry fitted and clamped into place many times untill I was satisfied that the shape was precise. This was a real pain because at the time I hadn't figured out how to flip the boat over yet. The first half (patch) took an entire day. Then I pre-drilled each piece every 2" around the outer edges all the way around. I counter-sunk the outside holes to accomidate brass screws while the inside holes (directly over the keel) would recive silicon bronze ring-shank nails. Don't ask me why I used brass :( I don't know why I used these instead of silicon bronze like I should have. Brass, I have found out is very soft. Everything else on the boat is getting silicon bronze below the waterline and bronze or SS above.
During the intire process of making each of the gussets and patchs I was lucky to have only wasted one small board due to a mistake. After making the first gusset, I got the brilliant idea that the peice on the opposite side would be identical ( a mirror image) to the first. Oooooooooops ! It doesn't work this way.
This is the end of this page. To follow the progress of my boats repairs and restoration please see the posts / comments at the top of this page and / or the archives.
5 comments:
You should be very proud of yourself, Vic. You dove right in, learning as you proceeded!
Great work, Vic.
You were brave to dive right in. I did the same thing with a 16 foot Thompson runabout.
Thanks a bunch Perry. I was neither brave nor did I just dive right in though... it took almost an entire year to get up the nerve to cut that hole in the hull and cut the keel out. I haven't worked on the boat for so long now... I hope to work on it later this summer. It's good to see that someone has seen my little blog.
Thanks again...
Kudos to your wife for buying you those fine woodworking tools--you should respond in kind with flowers!
Thanks again Perry. Sorry it took so long for me to recognize your comment... My email has changed and I failed to update it on Google.
I want to wish you and yours a very Merry Christmas.
Post a Comment