


Shop Notes:
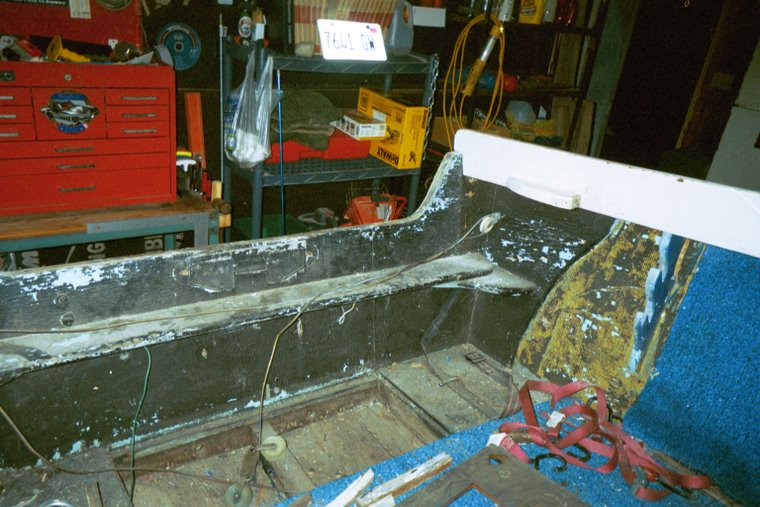
 Yesterday, I installed the remaining floor braces and then the cockpit floor itself. The floor consists of two layers of 3/8" plywood. The plywood was completely treated (both sides as well as all edges) with CPES to prevent water damage, and it will surely see it's share of water. The first layer was layed out and stapled with galvanized 1/4" x 1 1/4" crown staples basically at the corners and centers of each side to keep it flat until the second layer could be layed out and fastened. Each layer consists of two pieces of ply... one fore (running the full width of the floor) and one aft (likewise). Each seam is positioned directly above a brace. The seam on the first layer is positioned forward of the center (athwart ship) of the floor while the seam of the second layer is positioned aft. The second layer is secured every 5" all the way around each piece with SS #8 1 5/8" screws predrilled and counter sunk.
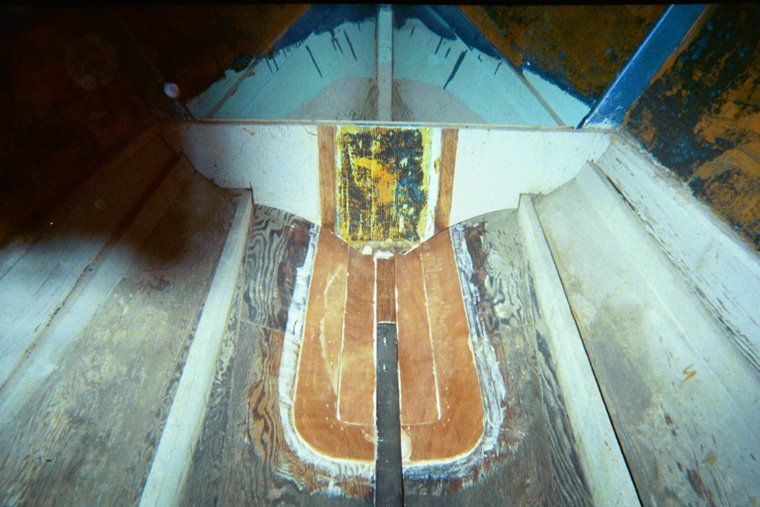
 In the very back, the first 15"-18" forward of the transom is a separate piece of plywood (single layer) left unattached for access to the bilge. This piece will eventually have holes cut into it on either side of the keel for bilge pumps. The keel is solid (no holes connecting the bilges) so a separate pump for each side is necessary. This is also where the batteries will be mounted, one on each side, to the outside near the hull.
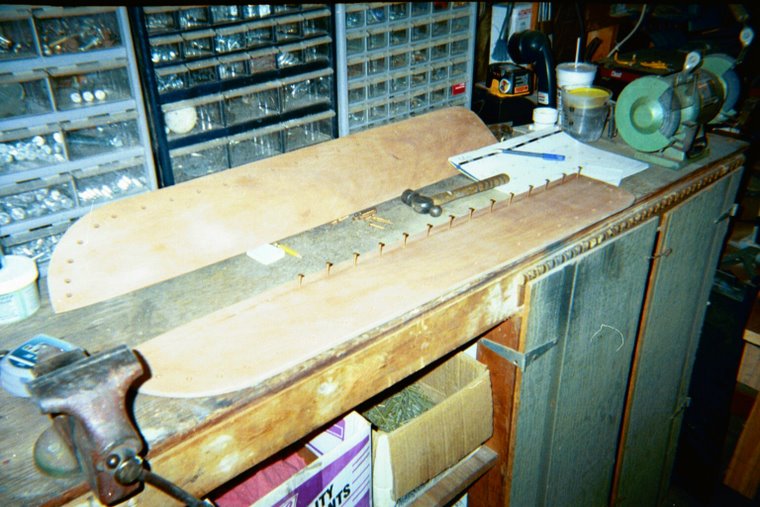
Now that the floor is in, I can grab my trusty bucket (an upside down seat) and start to heat and dig out the epoxy plugs on the cabin sides to tighten them up. There are 13 screws on each side. I got no less that 1/4 turn out of every screw and as much as an entire full turn out of some and, all but one tightened down. I had to remove one that was stripped and re-drill for a new screw.
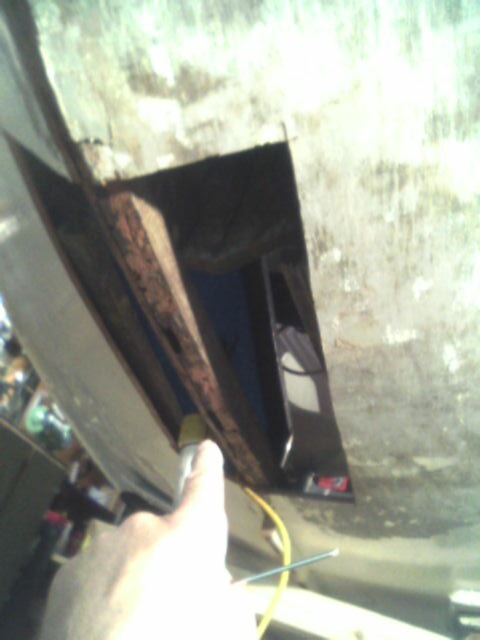
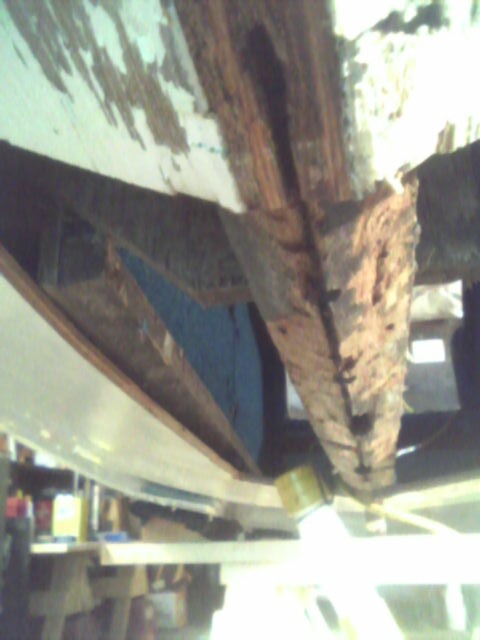
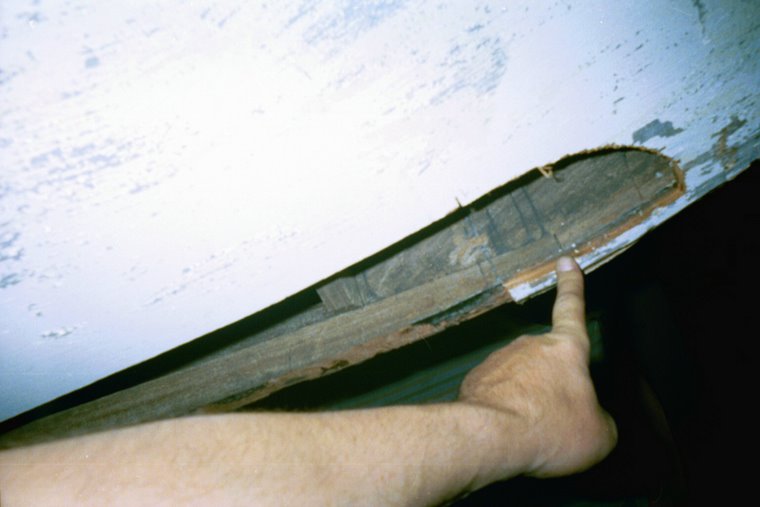
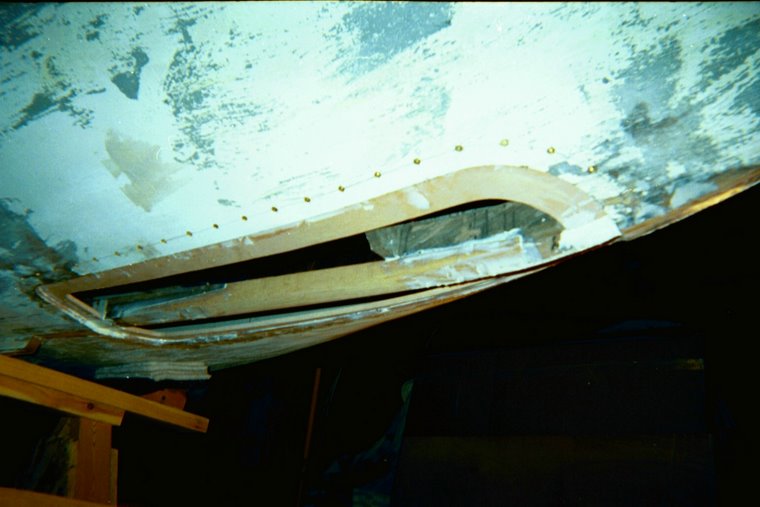
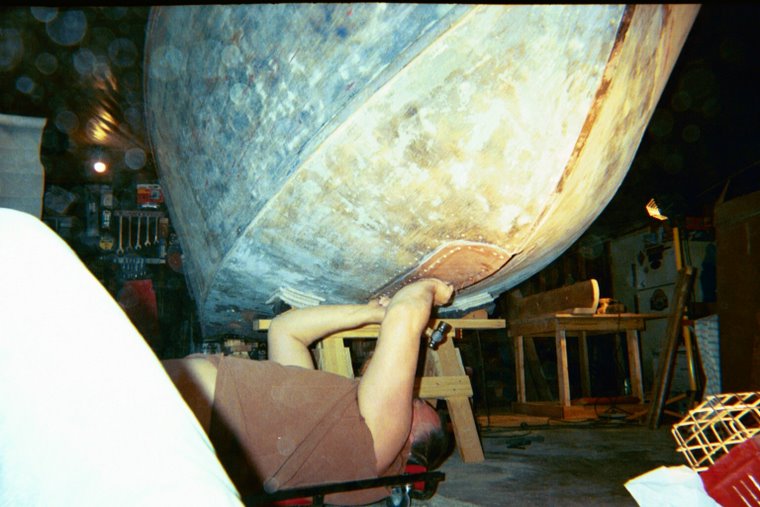
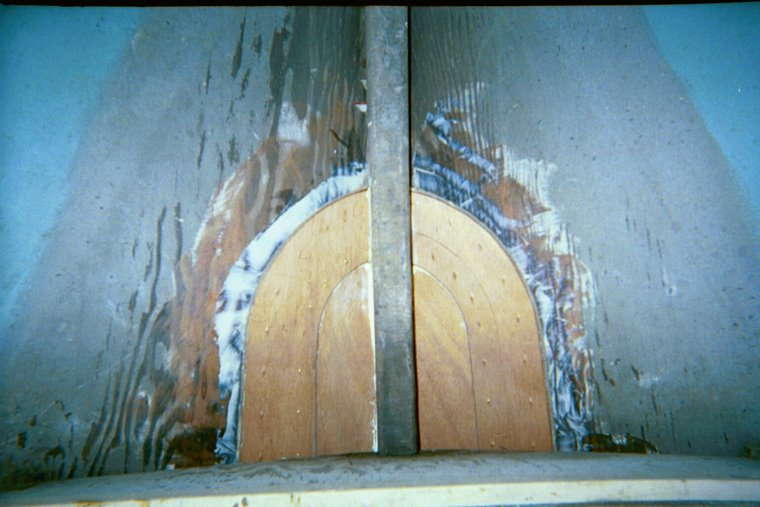
Later, I decided to take a look at the hatch. This thing is crooked and it's been bothering me for some time as to whether or not I should mess with it. I can't stand it... The wood around it (coaming ?) is rotted in places and it's just not square...
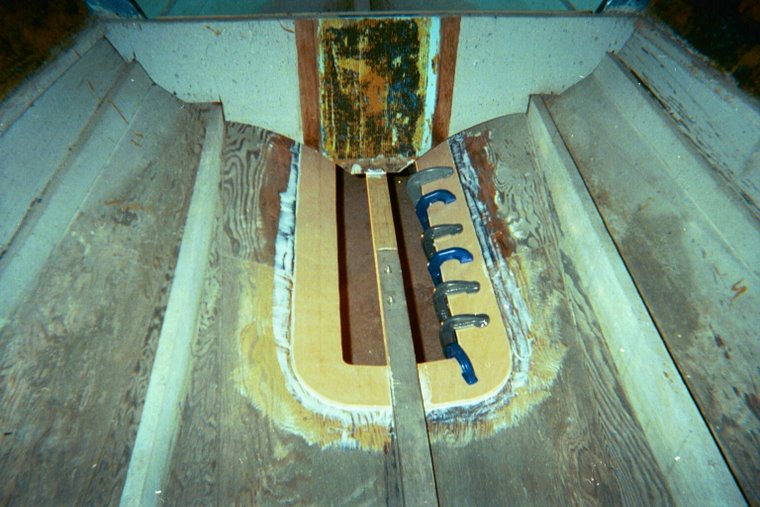
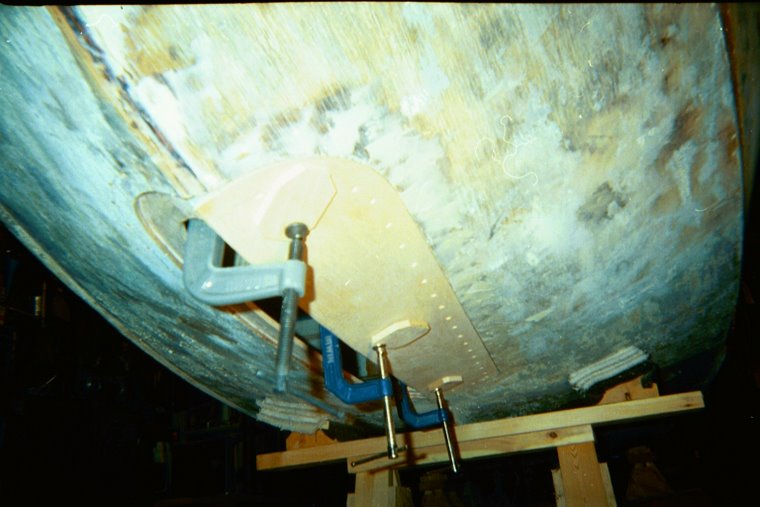
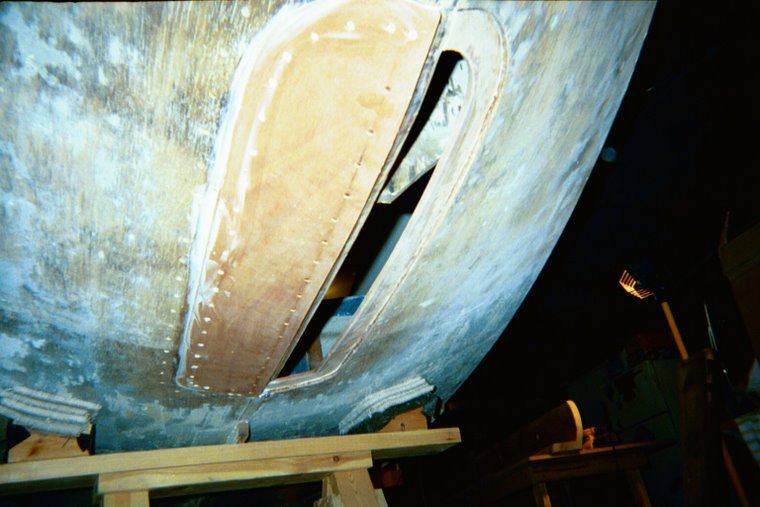
So, I started by removing all of the trim around the opening. I grab my square and straight edge and start studying this picture. I think this procedure requires a beer. Drink beer while looking at square crooked hole. Think..... think..... measure this.... measure that.... drink... think.... measure... you get the picture, right. Finally, I decide to start with the upper left (looking aft) corner of the hatch opening. I figure that I'll start with this corner and square everything else to it. So, with straight edge in hand, I begin to mark off excess wood that will need to be removed. I grab a rasp and my surform and start to shave off said wood. Remove a little wood here... a little more there... a slight cut from the jig saw in a couple of corners, a little more shaving and whalla ! SQUARE.
I can live with it now. Time to call it a night.


No comments:
Post a Comment