


Shop Notes:
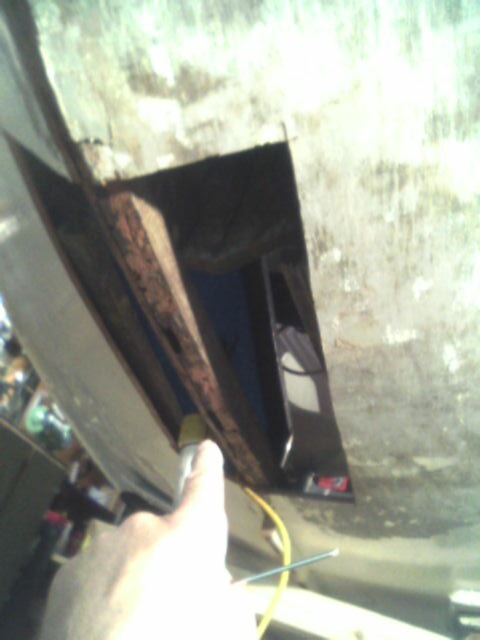
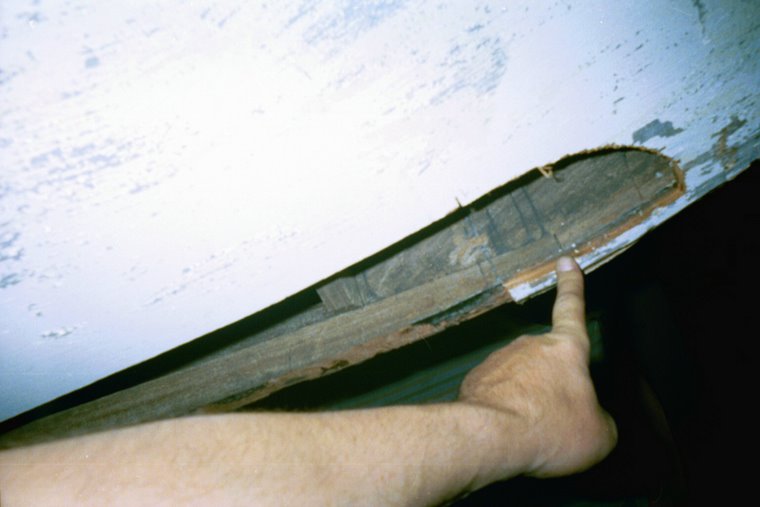
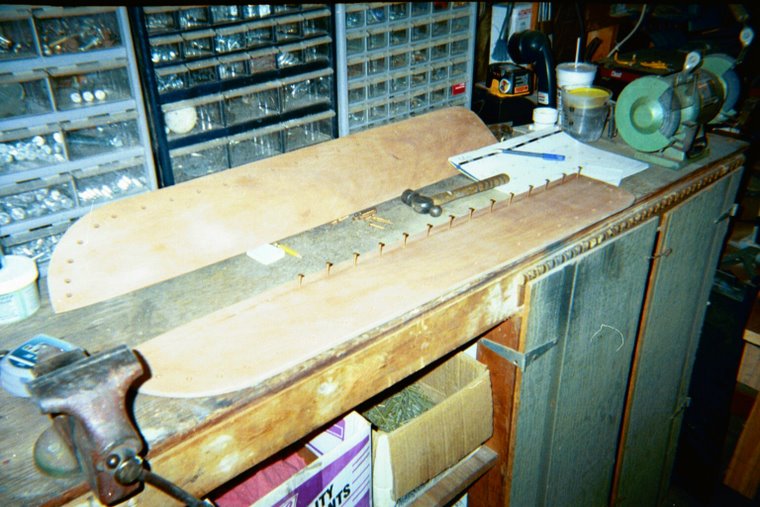
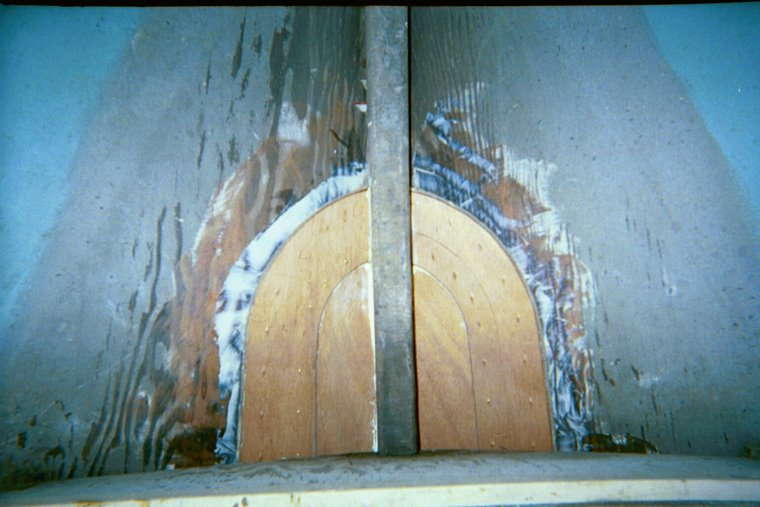
 New hatchway dryfitting.
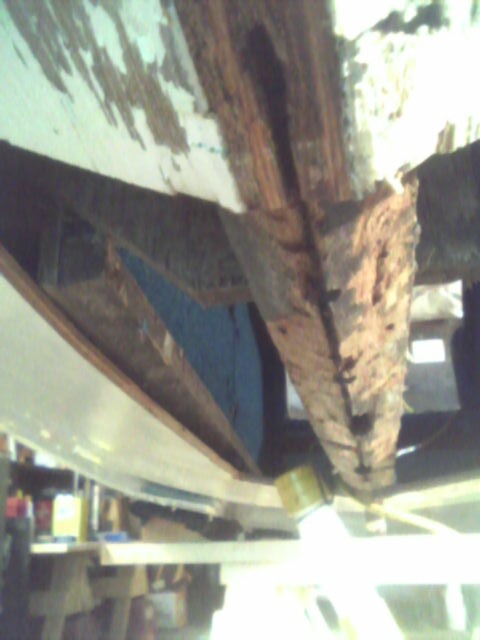
Today, and the last few days, I've been able to work a bit on the boat. Not as much as I'd like though. Sometimes, it's just better to walk away for a time, which is probably what I should have done the other day when Mr. Murphy slipped in to visit. Things have been slow going all week.
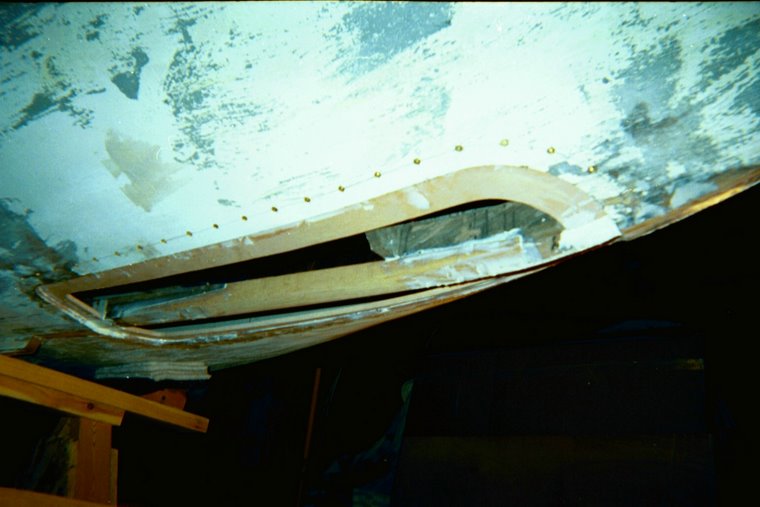
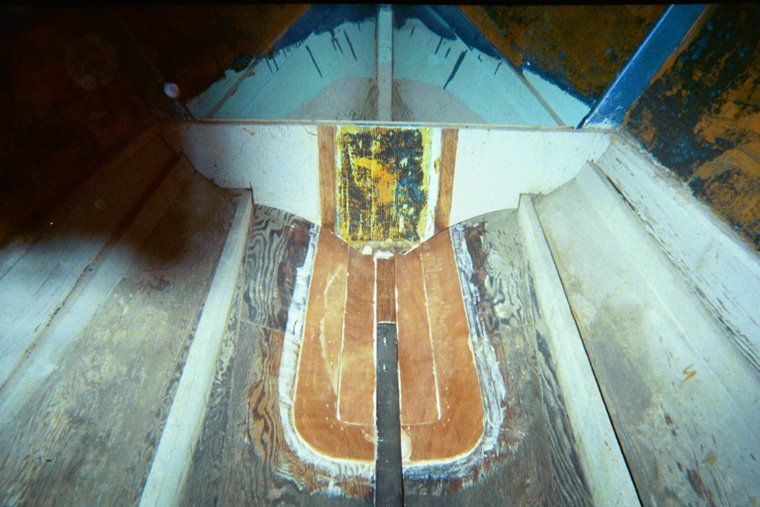
New Bulkhead Dryfitting. 
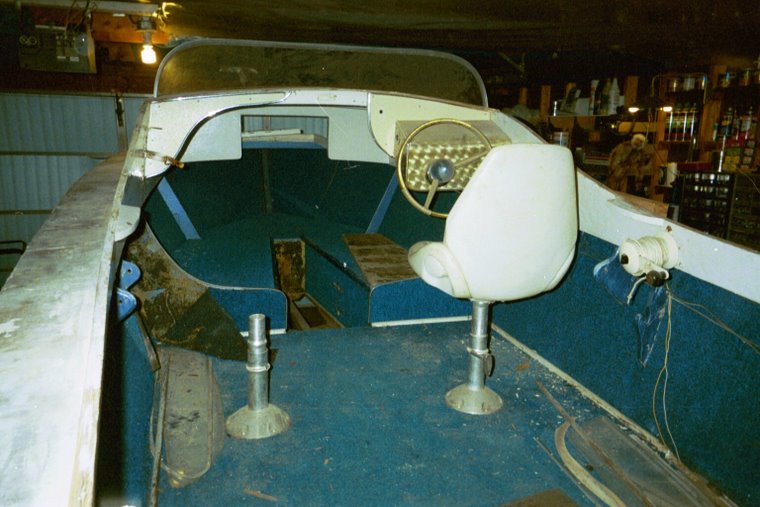
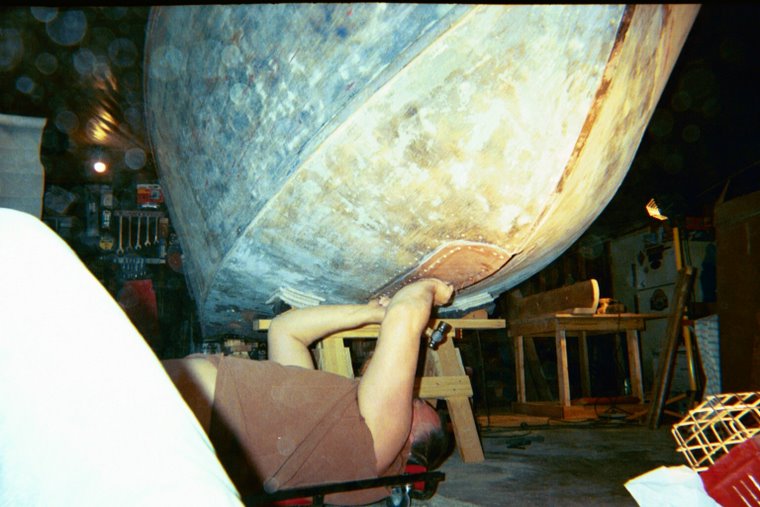
I have worked (on and off) on the hatch cover as well as the new bulkhead and today I've focused on the fuel cell incloser too. You'll see in the pictures that I've made a little headway... kicking and screaming all the while..... ;(
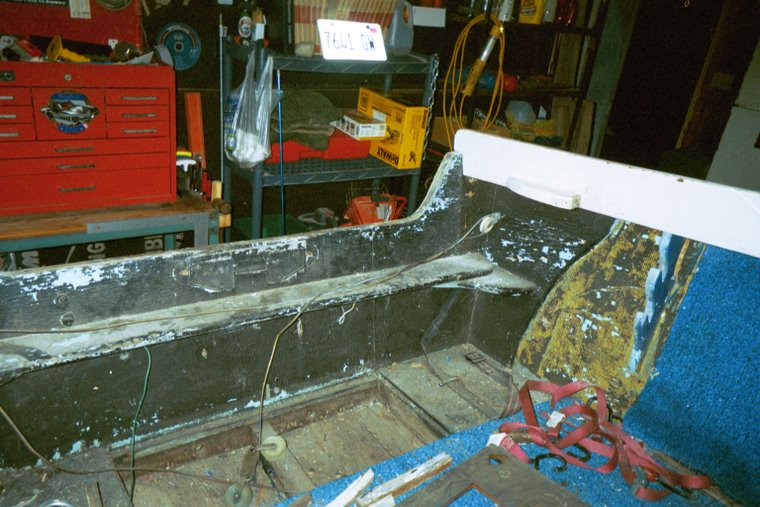
Fuel cell incloser roughed in. 
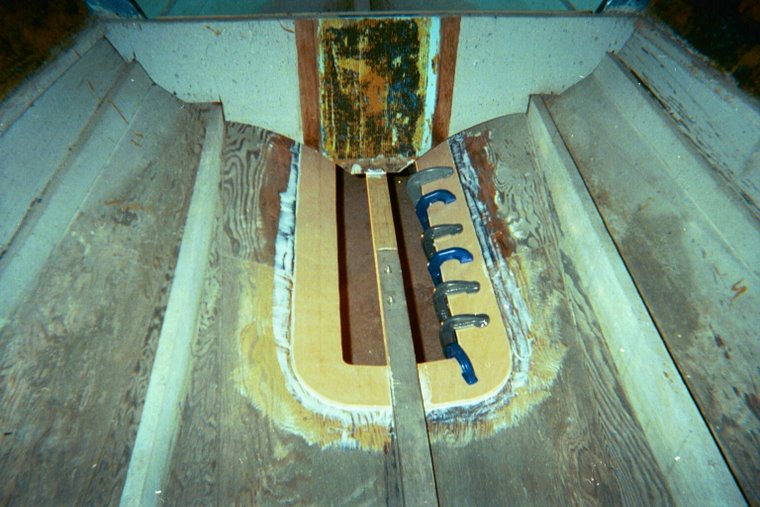
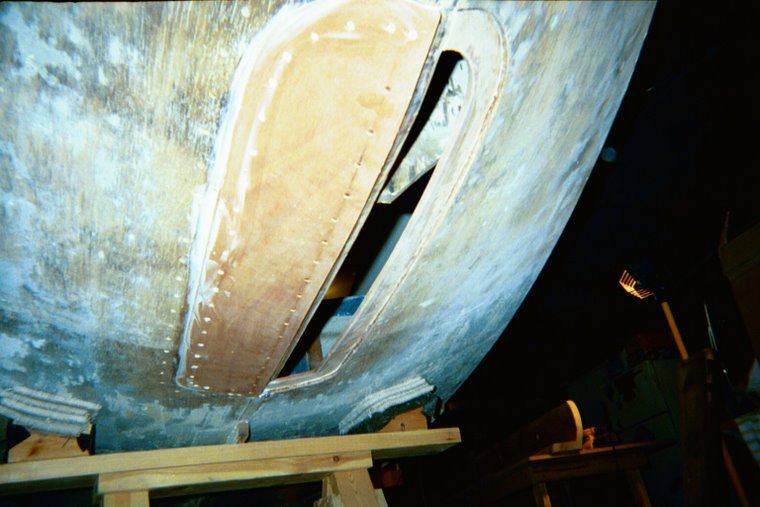
 Fuel cell getting a test fit.
I have constructed most of the lid for the hatch and it's looking fairly nice so far.
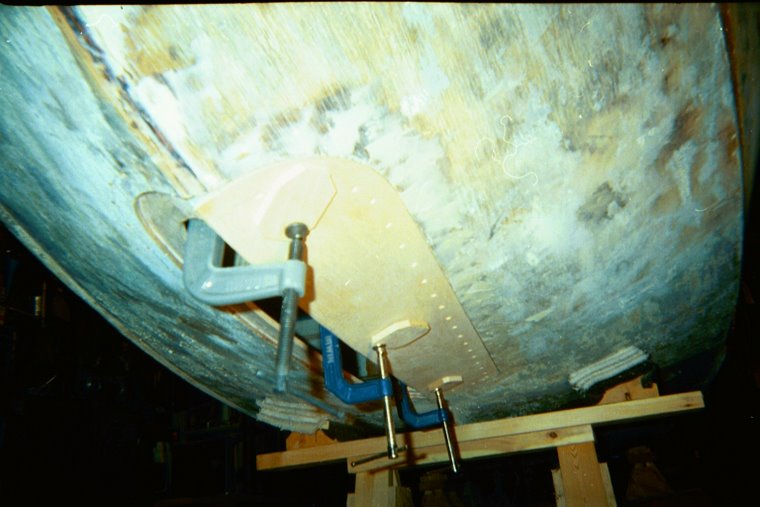
Sooner or later everything will come together and actually be assembled permantly... still have a ways to go though. I have to fabricate a dash as well as the seating (at least the supports for the seats), coat everything with CPES and then at some point soon after I'll be purchasing some sandable primer to apply to the entire inside of the boat... Hulls, Cabin sides, Beams, Bulkhead... the works. I'll have to have a good start on the dash and the seats before this can happen though. Untill next time..... :)


3 comments:
How are you going to join the pieces of the hatchway? You could try a pocket hole jig and some screws - see http://www.kregtool.com/education_center/index.php
D
The original hatchway (I do not believe that it has ever been replaced) has lasted for 46 years so, I was thinking about doing it the same...screws and glue (epoxy).
One screw at each end / corner (counter sunk) holding the pieces together along with epoxy... then fill the holes with putty, sand and prime. What's already done is looking fairly good so far.
P.S.
Funny you should ask... I was considering the pocket screws and maybe even a small wedge in the corners but, it's lasted this long... why make it complicated. :)
Post a Comment